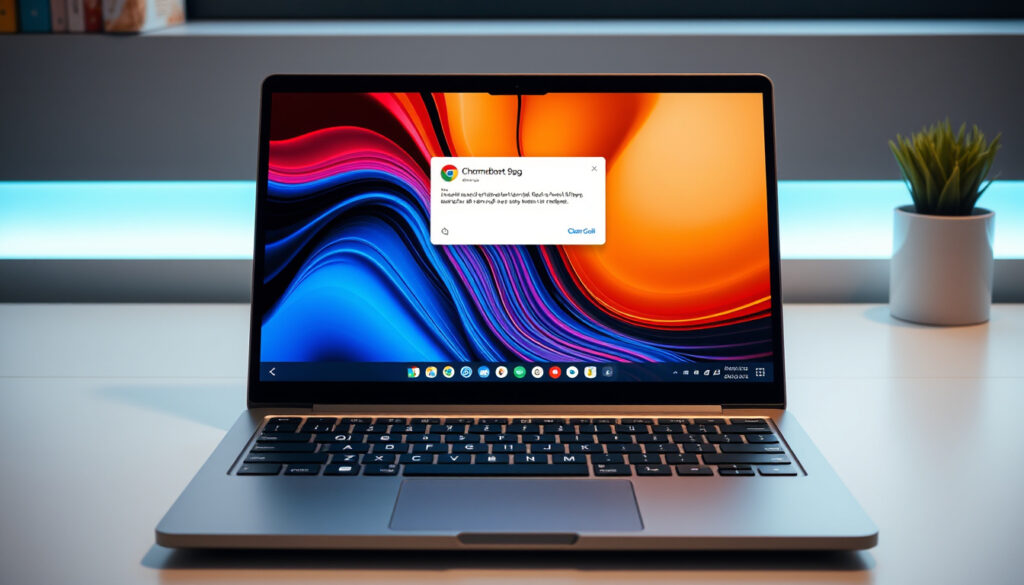
How to Screenshot on Chromebook: Easy Keyboard Shortcuts
If you’ve ever fumbled for a Print Screen key that doesn’t exist on your Chromebook, you’re not alone. The keyboard layout looks familiar at first glance, but Chrome OS handles screenshots differently than Windows or macOS. The good news: once you know the two main shortcuts, capturing your screen becomes second nature. Here’s everything you need to screenshot on a Chromebook.
Full screen shortcut: Ctrl + Show windows · Partial screenshot shortcut: Ctrl + Shift + Show windows · Screen record option: Shift + Ctrl + Show windows then select record · Official source for shortcuts: Google Chromebook Help · No Windows key needed: Use Show windows key instead
Quick snapshot
- Ctrl + Show windows captures full screen (Google Chromebook Help)
- Exact F5/Switcher behavior varies slightly across older Chrome OS versions
- Ctrl + Shift + F5 added for external keyboards in recent Chrome OS updates (Google Chromebook Help)
- Screen recording now integrated into same toolbar as screenshots
Three core shortcuts, one consistent system: that’s what makes Chrome OS screenshot tools stand out from the competition.
The table below summarizes the essential shortcuts and their functions across all Chromebook models.
| Label | Value |
|---|---|
| Primary Shortcut | Ctrl + Show windows |
| Partial Shortcut | Ctrl + Shift + Show windows |
| Show windows key | Between Ctrl and Alt |
| File location | Downloads folder |
How can I screenshot on a Chromebook?
Chromebooks have offered screenshot functionality as a standard Chrome OS feature since the platform launched. ASUS confirms that capturing your screen requires just two keys pressed together, and there’s no Windows key involved at all. The system uses the Show windows key—sometimes called the Switch Window key—as the central trigger for all screenshot functions.
Full screen capture
The primary method for taking a full-screen screenshot on any Chromebook (HP, Lenovo, Acer, or Asus) is holding Ctrl and pressing the Show windows key simultaneously. Google Chromebook Help documents this as the official full-screen shortcut. The resulting image saves directly to your Downloads folder as a PNG file.
Using built-in tools
Chrome OS also provides a screen capture toolbar accessible through keyboard shortcuts. This toolbar lets you switch between full-screen captures, partial selections, and screen recordings from a single interface. According to Lenovo’s official glossary, the same Ctrl + Show windows combination works consistently across all Chromebook brands with no brand-specific variations.
Unlike Windows PCs that scatter screenshot options across Snipping Tool, Game Bar, and Print Screen, Chrome OS consolidates everything into two shortcuts. One key combo handles full screen, the other opens a toolbar for everything else.
The implication is simpler workflows: Chromebooks require far fewer keystrokes to accomplish the same screenshot tasks that Windows users struggle to locate.
How to screenshot on Chromebook with keyboard?
The Show windows key sits in the bottom row of your Chromebook keyboard, typically positioned between Ctrl and Alt on the left side. It looks like a small rectangle with two horizontal lines inside it. Once you locate it, the two main shortcuts become straightforward.
Standard shortcuts
Google’s official documentation outlines three primary screenshot shortcuts for Chrome OS. Full-screen captures use Ctrl + Show windows. Partial or selective screenshots use Ctrl + Shift + Show windows. For external keyboards that lack a Show windows key, Google provides an alternative: Ctrl + Shift + F5. Each method produces a PNG file saved to your Downloads folder automatically.
Show windows key location
The Show windows key occupies the position where a Windows key would sit on a PC keyboard, or where a Command key would sit on a Mac. On some Chromebooks, particularly older models, this key may be labeled as “Switch Window” or display its icon only. ASUS support documentation confirms this key location is consistent across their Chromebook lineup, just as Lenovo confirms the same for their devices.
Some external keyboards marketed for Chromebooks still lack the Show windows key. When that’s the case, the Ctrl + Shift + F5 workaround handles full screenshots, but partial capture options may be limited.
What this means for users with external keyboards: budget keyboards often omit the Show windows key entirely, so having the F5 fallback prevents you from being stranded without screenshot capability.
How to take a screenshot on a Chromebook with no Windows key?
Chromebook keyboards never included a Windows key—the key simply doesn’t exist on Chrome OS hardware. Instead, Google designed the Show windows key to handle that functionality. This means every Chromebook, regardless of manufacturer (HP, Lenovo, Acer, or Asus), uses the same core screenshot system without requiring any workarounds for a missing Windows key.
Replace with Show windows
The transition from Windows to Chrome OS is simpler than it appears. Lenovo’s official guide describes the screenshot process as “pressing the Ctrl key and Switch Window together”—that’s it. Once you know to look for the Show windows key rather than hunting for Print Screen or Windows, the process clicks into place immediately.
Works on HP Lenovo models
Both Lenovo and HP Chromebooks use identical Chrome OS screenshot shortcuts because Chrome OS standardizes these features across all manufacturers. When ASUS and Lenovo documentation agree on the same two-key combination, you can trust it works universally. The same Ctrl + Show windows shortcut that captures your full screen on a Lenovo ThinkPad Chromebook will work exactly the same way on an HP Chromebook x360.
The pattern holds across brands: HP, Lenovo, Acer, and Asus Chromebooks all share the same screenshot shortcuts because Google controls this part of the operating system.
How to snip screenshots on Chromebook?
Partial screenshots—sometimes called snips or selections—let you capture just a portion of your screen rather than everything visible. Chrome OS handles this through a selection tool activated by a keyboard shortcut.
Select area tool
Press Shift + Ctrl + Show windows to open the screenshot toolbar. Your cursor changes to a crosshair, indicating you’re in selection mode. Click and drag to outline the exact area you want to capture. Google’s official help page confirms this opens the screen capture interface where you can then draw your selection. Once selected, the partial screenshot saves alongside your other captures.
After Shift + Ctrl + Show windows
After pressing Shift + Ctrl + Show windows, Chrome OS displays several options in the toolbar: full screen, partial screen, window, and record. Selecting “Partial” or “Region” activates the crosshair cursor. You can then click and drag to create your selection box. Use Tab, arrow keys, and Spacebar to fine-tune your selection if precision matters.
The Ctrl + Alt + Show windows combination captures a specific window rather than a selected region. This is particularly useful when you need just one window’s content without the surrounding desktop or drop shadow effects that normally frame application windows.
The catch: this window-only mode excludes the window frame and shadow, giving you just the content—ideal for tutorials or documentation where visual clutter distracts from the message.
What does Ctrl+Alt+Z do on a Chromebook?
Ctrl + Alt + Z opens Chrome OS Overview mode, which shows all your open windows in a grid layout. This key combination isn’t directly a screenshot shortcut, but it works alongside screenshot functions. Understanding Overview mode helps you navigate between windows before capturing what you need.
Overview window toggle
When you press Ctrl + Alt + Z, Chrome OS immediately arranges all your open applications and windows across the screen in thumbnail form. This gives you a bird’s-eye view of everything running on your device. From this Overview, you can select which window to focus on or arrange your desktop before returning to capture a specific screenshot.
Related to screenshots
While Overview mode doesn’t capture screenshots directly, many users find it helpful for organizing their workspace before taking a screenshot. Open the windows you want visible, arrange them as desired, exit Overview, and then use Ctrl + Show windows to capture the result. This workflow proves useful when documenting multi-window workflows or creating tutorials.
The implication: mastering Overview mode first lets you stage perfect screenshots by eliminating unwanted windows from the frame before you capture.
Steps: Taking Screenshots on Chromebook
Whether you need a full screen, a selected region, or a screen recording, Chrome OS handles it with two main shortcuts. Here’s the complete workflow.
- Locate the Show windows key (rectangle with two lines) between Ctrl and Alt on your keyboard.
- For a full screen screenshot: hold Ctrl and press the Show windows key once. Check Downloads for your PNG file.
- For a partial screenshot: hold Shift + Ctrl, press Show windows, then drag to select your region.
- For screen recording: press Shift + Ctrl + Show windows, then select “Record” from the toolbar.
- For tablets: press Power + Volume Down simultaneously to capture the screen.
- For external keyboards: use Ctrl + Shift + F5 instead of the Show windows combination.
- Access screenshots via the Files app in the Downloads folder.
Chromebook screenshot shortcuts are identical across HP, Lenovo, Acer, and Asus models because Chrome OS standardizes these features at the operating system level. Your HP business Chromebook and your Asus educational tablet use the same two-key combinations for identical results.
“Take a screenshot: Press Ctrl + Show windows.”
— ASUS Support (Official Manufacturer)
“It takes just a few key presses on your Chromebook to take a screenshot. Simply press the ‘Ctrl’ key and ‘Switch Window’ together.”
— Lenovo (Official Manufacturer)
“On a Chromebook you do not use a Windows key at all.”
— Begin Rescue End (Community Guide)
For Chromebook users migrating from Windows, the mental shift required is small but important: forget Print Screen, forget the Windows key, and memorize the Show windows key location. That single adjustment unlocks the entire Chrome OS screenshot toolkit.
Related reading: How to Fold Fitted Sheets: Easy Pro Guide in Seconds
asus.com, beginrescueend.com, lenovo.com, youtube.com, youtube.com, info.areyjones.com, youtube.com
Chromebook models from HP, Lenovo, Acer, and Asus rely on shortcuts like Ctrl plus Show windows, much as covered in detailed Chromebook shortcut guide for quick captures.
Frequently asked questions
How do I find the Show windows key?
The Show windows key sits in the bottom row of your keyboard, between the Ctrl and Alt keys on the left side. It typically shows a small rectangle icon with two horizontal lines. On some keyboards, it may say “Switch Window” instead.
Where are screenshots saved on Chromebook?
All screenshots save to the Downloads folder by default as PNG files. You can access them through the Files app or by opening the Downloads folder in your file browser.
Can I screenshot on Chromebook tablet?
Yes. On Chromebook tablets, press the Power button and Volume Down button simultaneously to capture the screen. ASUS documentation confirms this works on their convertible Chromebook models.
How to edit screenshots after capture?
Once captured, screenshots can be edited or cropped through Chrome OS’s built-in Image Editor. Open the screenshot file and look for an edit option in the toolbar that appears.
What if my Chromebook lacks a Ctrl key?
Some international keyboard layouts may have different configurations. For external keyboards without a Show windows key, use Ctrl + Shift + F5 as the alternative full-screen shortcut.
How to record screen on Chromebook?
Press Shift + Ctrl + Show windows to open the screenshot toolbar, then select “Record” instead of a screenshot option. Screen recording uses the same shortcut that opens the partial capture interface.
Does screenshot work in guest mode?
Yes, screenshot functionality works in guest mode on Chromebooks. Screenshots save to the Downloads folder within that guest session and are removed when the session ends.
More related posts
 Kendamil First Infant Milk – Where to Buy and Parent Reviews
 Nissan Navara for Sale in Ireland | 2025 Guide & Comparisons
 Blossom Word Game Today: Hints and Scoring Tips
 Bilete de Avion Ieftine: Best Sites Compared
 Galaxy A71 To Buy – Affordable Practical Option
 Temp Cover Car Insurance – Costs Coverage Guide 2025
 Mumbai Indians vs Delhi Capitals Match Scorecard – IPL 2024 Full Stats & Highlights
 Leo Woodall Movies and TV Shows: Full List & Upcoming